
Sewing room makeover and organization-The Sewing Shanty
Sewing room makeovers and organization is a lot of work! Several months ago what began as “just painting” my room turned into a creative journey. Here are some updated photos with more to come.
Where I started
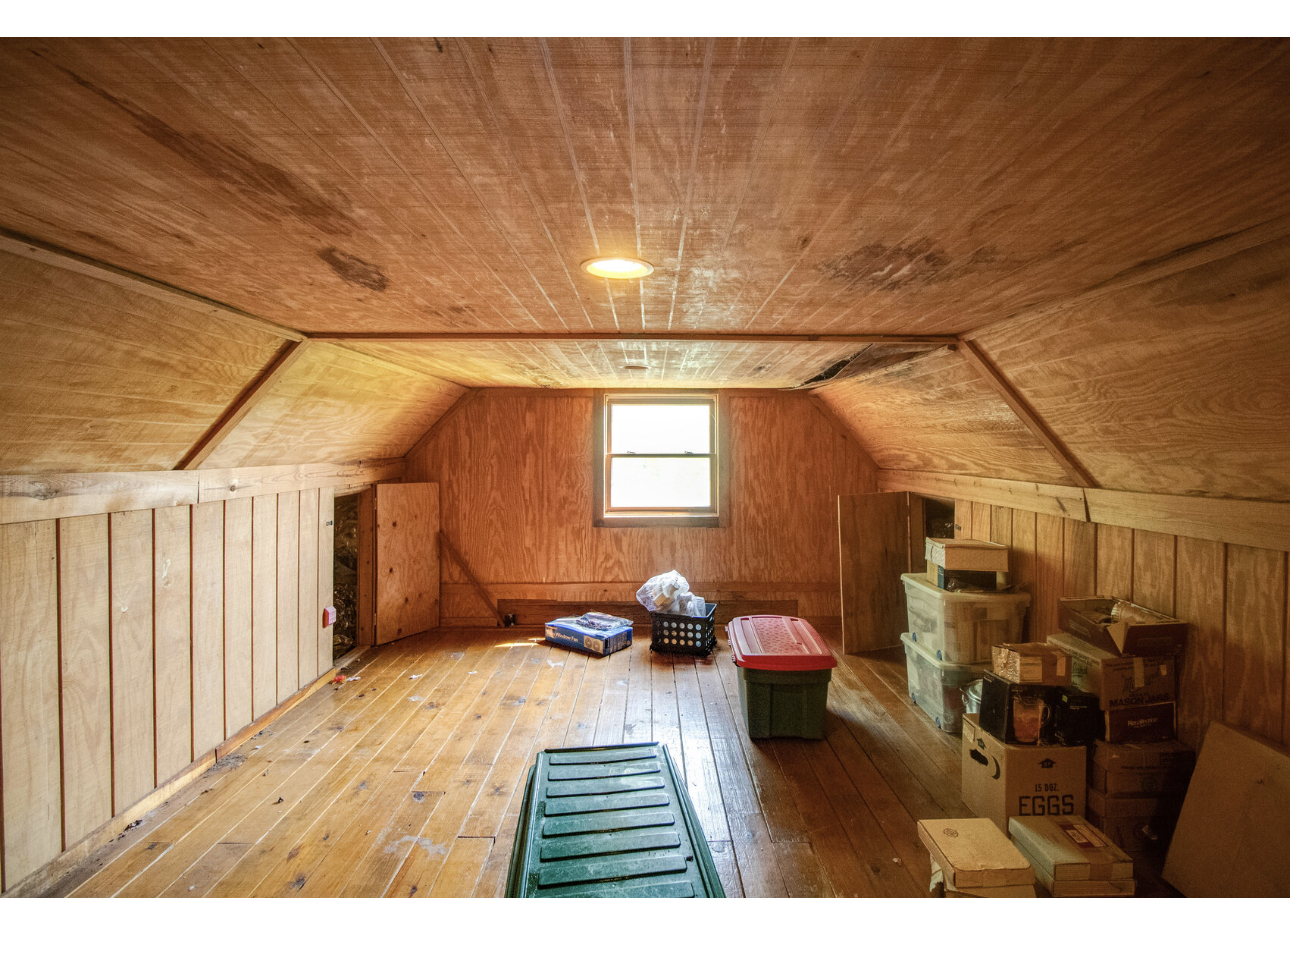
The image on the left is what the loft looked like before we moved in. The home has set empty for a couple of years, the roof leaked and there were squatters inside-squirrels. The last layout I had before this journey began.

Painting
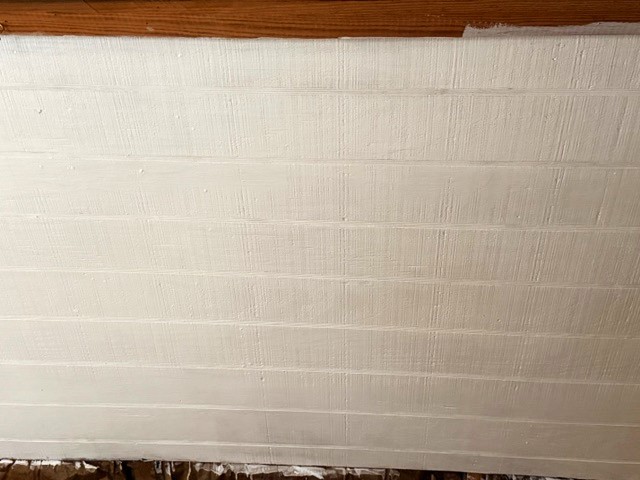
First I made my own milk paint and painted the slanted portion of the wall.
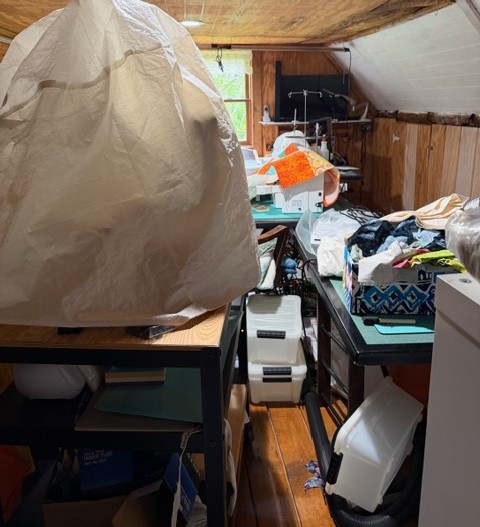
The mess I created, the mess I had to walk around while painting.
By the time I made it to this side of the room the mess was beginning to bother me and I just had to finish the painting. At this point I did not remove trim, I just painted it as it was.
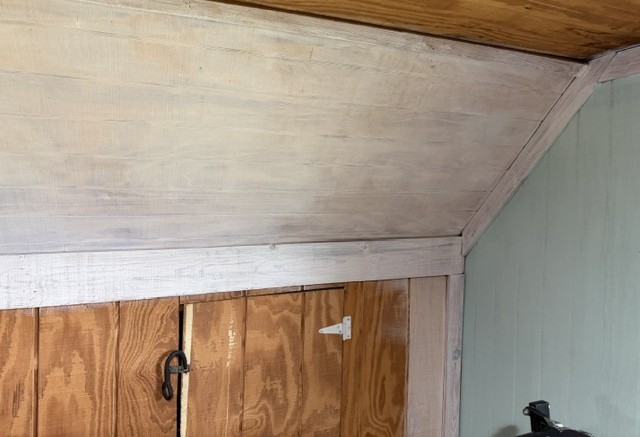
Next I decided to give the white portion of the wall a whitewash effect. I didn’t seal my paint so giving the wall a scrub here and there-mission accomplished.
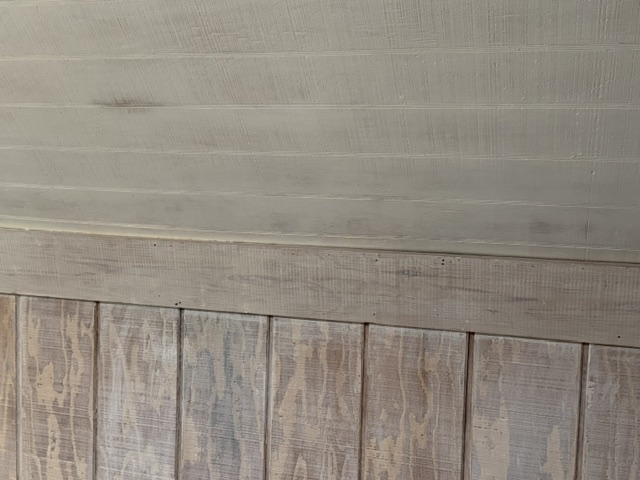
Keep in mind this is what I was aiming for. As usual I changed things up and painted the slant walls white and knee walls green.
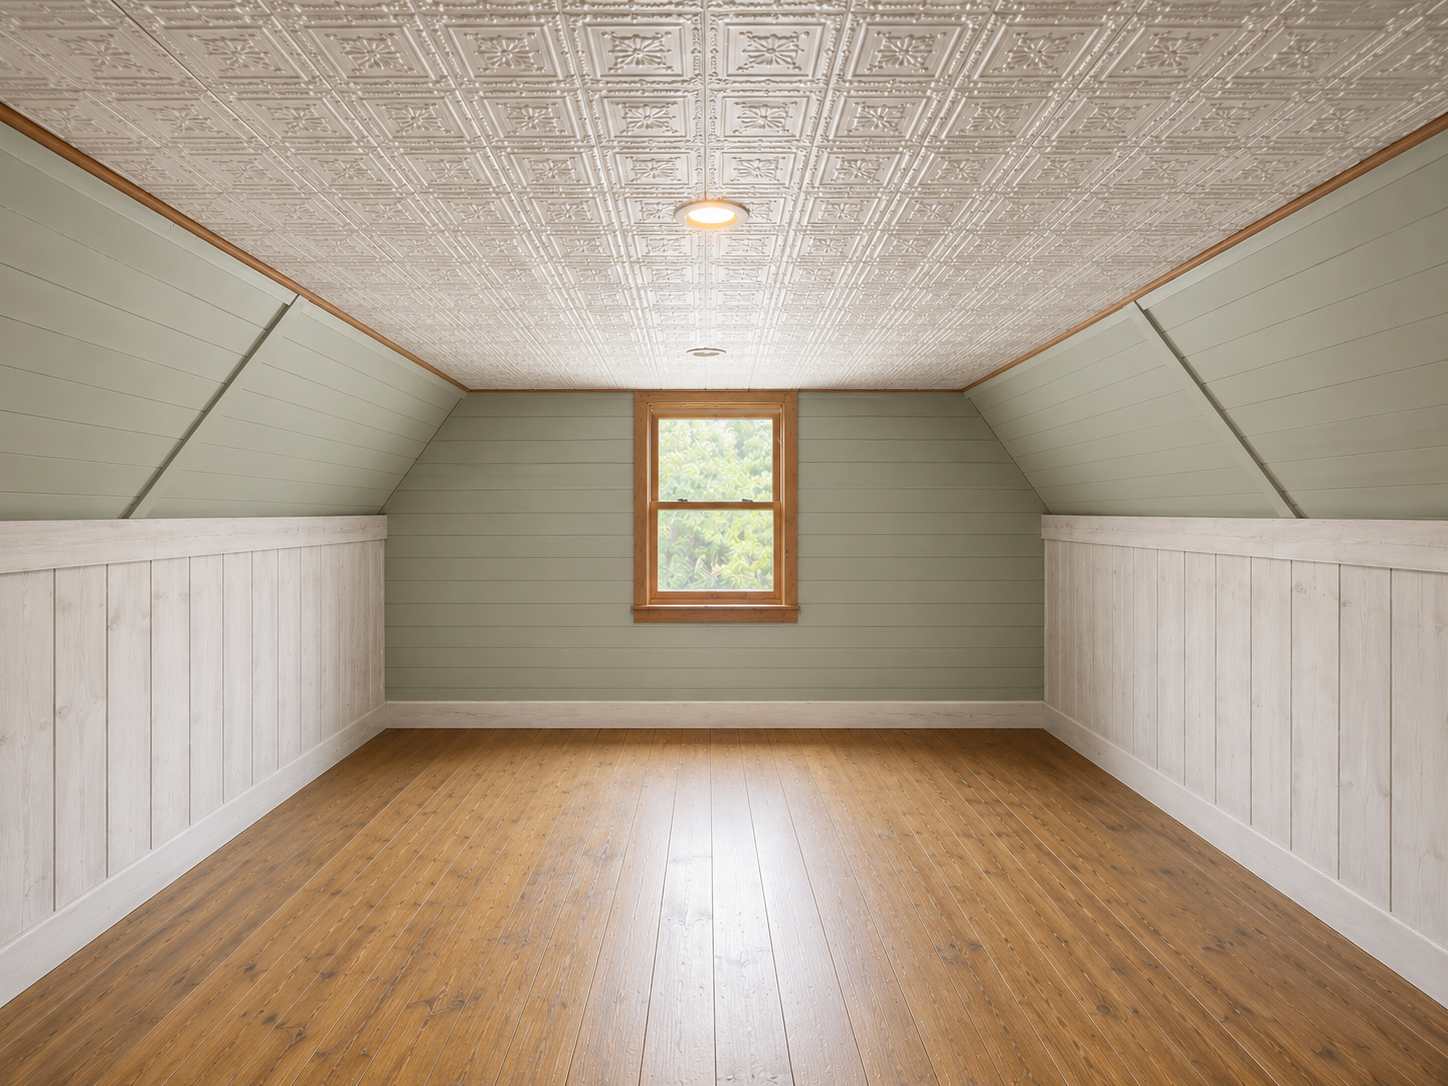
I really love how my green turned out and did not want to give it the white-wash effect. The green in the image above is a little darker, perhaps if I’d added a mineral powder that was black I could have achieved it. What I ended up with is more cheerful.
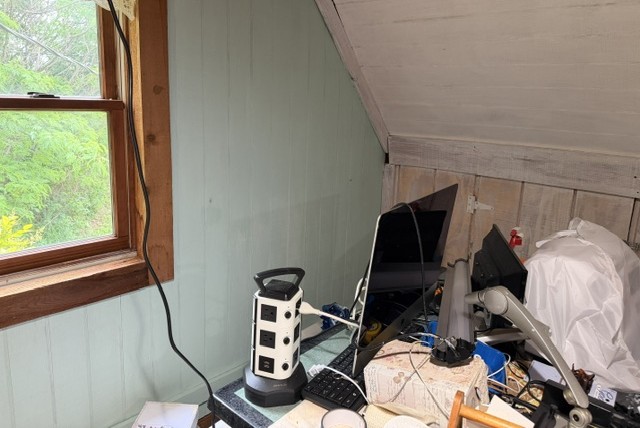
I’m stuck
Here I am playing with different layouts, the painting is complete. Turns out, it wasn’t so much the layout that was the problem, it was the dark room.
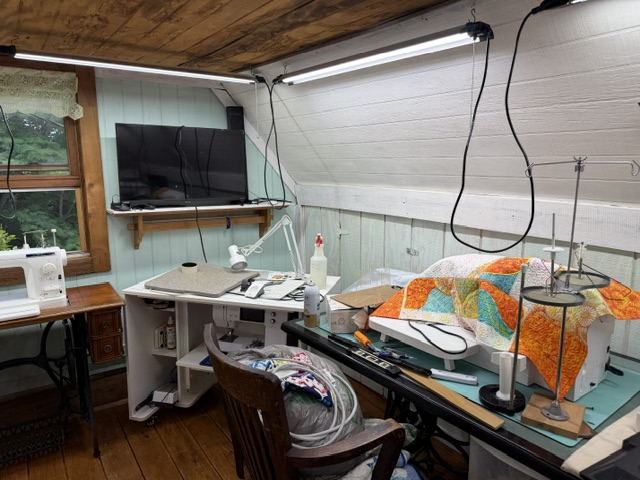
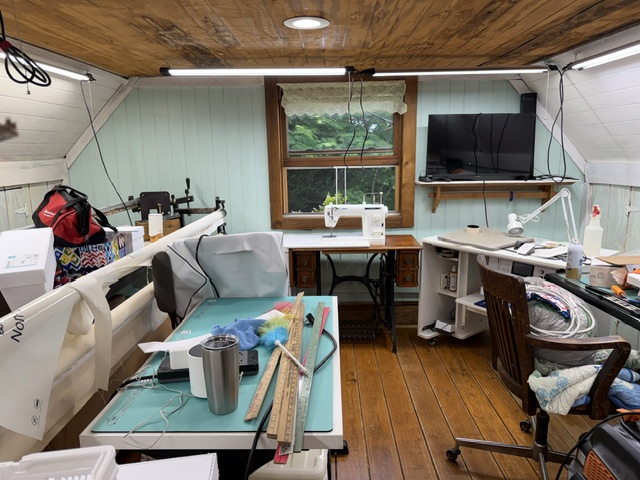
What the heck, I wanted to do a little organizing, fine tune what I had been doing since moving in. New decorating ideas came to mind, then another way to organize. It was a vicious cycle and I could not move forward. For some reason I had convinced myself that all of the decorating I wanted to do and organizing of my fabric had to be completely done before I was finished. I was trying to do it all at the same time while driving myself nuts.
Organizing for real-and getting crafty
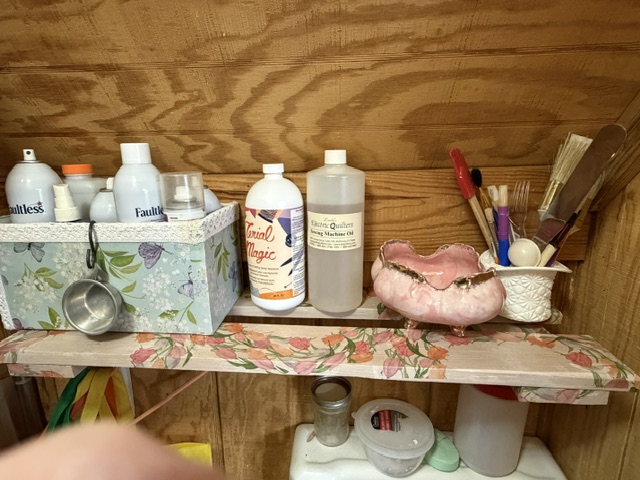
Finally, I concentrated on one area at a time. This shelf wood came from a pallet, and the flowers are napkins from the dollar store. The napkins are decoupaged to the boards. This is the wash room, not a bathroom anymore since it does not have a stool. It turns out I use the sink more than I thought I would.
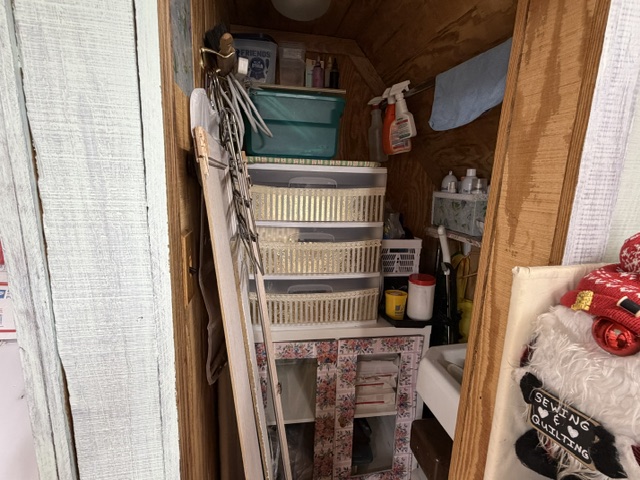
I move the only cube I had left into the ex-bathroom and decoupaged a 3 drawer plastic storage unit with napkins, also from the dollar store. Oh, the doors on the cube are cardboard I decoupaged with clear vinyl so I can see what’s inside. Crude but it prevents the water from splashing onto the cube contents.
Stacking totes onto this shelving unit, rearranging them, adding my AccuQuilt dies, then removing the dies and putting them back in the closet…

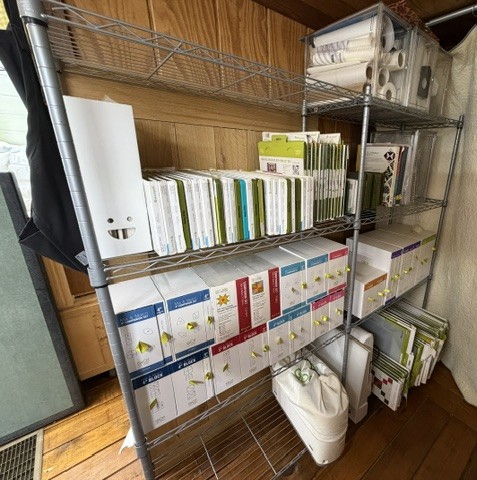
I ended up with this.
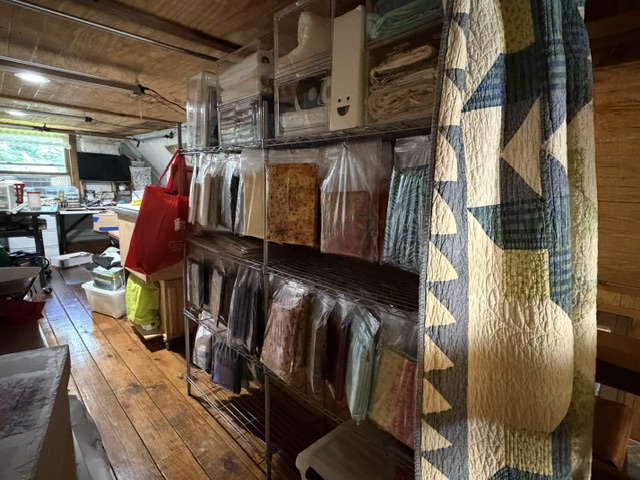
The image above is standing on the landing looking into the loft. The image below is standing in the room looking towards the landing.
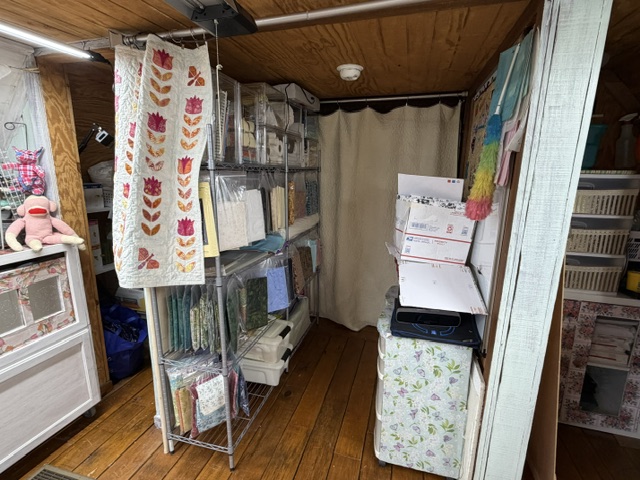
Here are just a few totes I eliminated by placing yardage into 8.5″ x 11″ plastic bags and hanging them on the shelf unit. The 3 drawer unit with the decoupage stripes, it no longer has fabric in it so add it to the pile of totes.
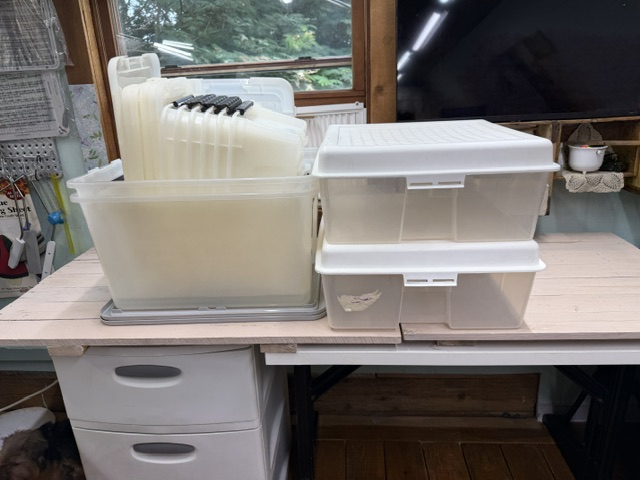
Pallet wood
The table tops I made from pallet wood.
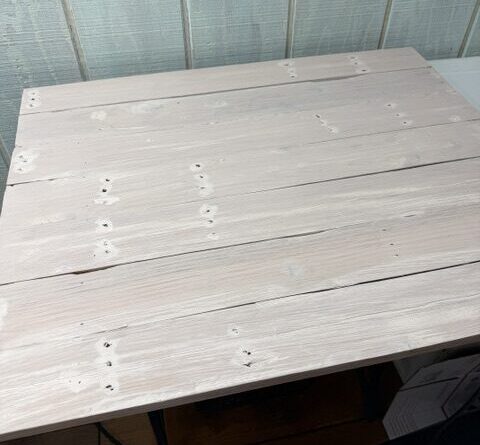
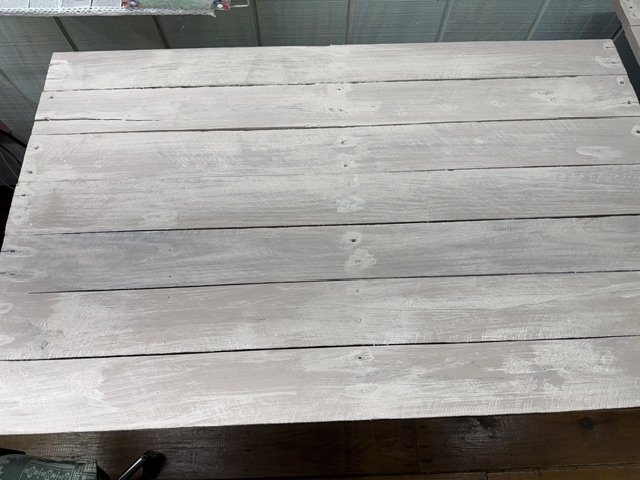
Here are the two tops finished, I used an antique colored paint. After the paint dried I lightly sanded them to add the aged look.
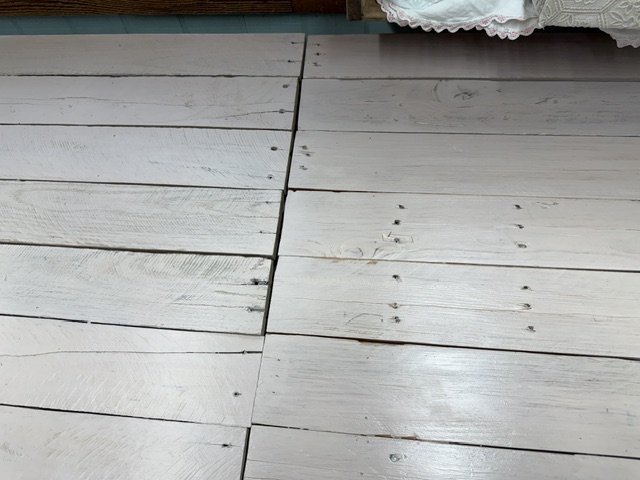
Huge mistake, but what is done is done. I’d never used stencils before for painting.
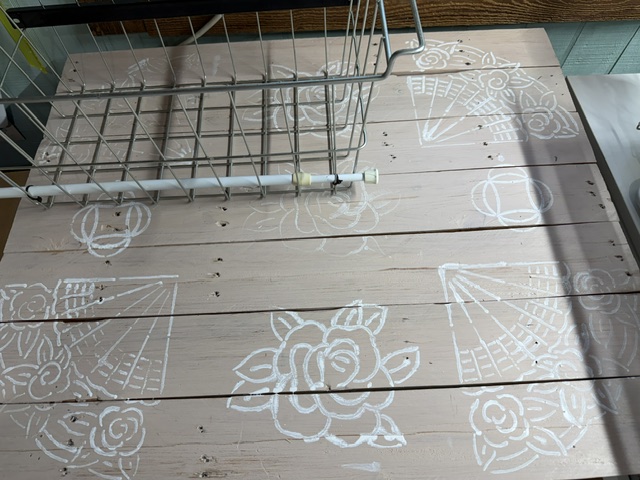
These tops can be placed on one of my treadle sewing stands to use as a work top, or removed and my sewing machine sitting in the stand, that photo another day.
Thinking outside the box
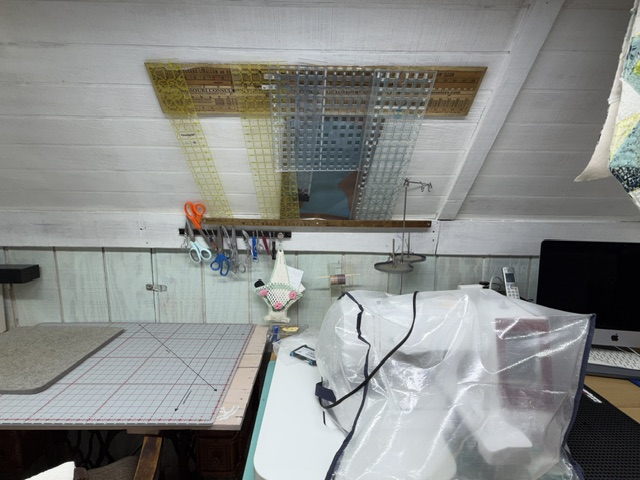
In a room with few options, I glued yard sticks together and placed a few nails along the top. Using wooden thread spools and another yard stick below, I made a place to hang rulers. The lower yard stick keeps the rulers against the wall.
Below- I even pulled out a few of my vintage doilies to enjoy, the window dressing will stay. How am I holding them up there? I have a cloths-line (aka Loki’s old tie out cable) that runs the length of one side of the room and wraps around the corner to the window. This was actually done to hang quilt blocks on since I do not have room, or wall space for a design wall. I thought this was a better idea than taking up valuable real estate on a table.
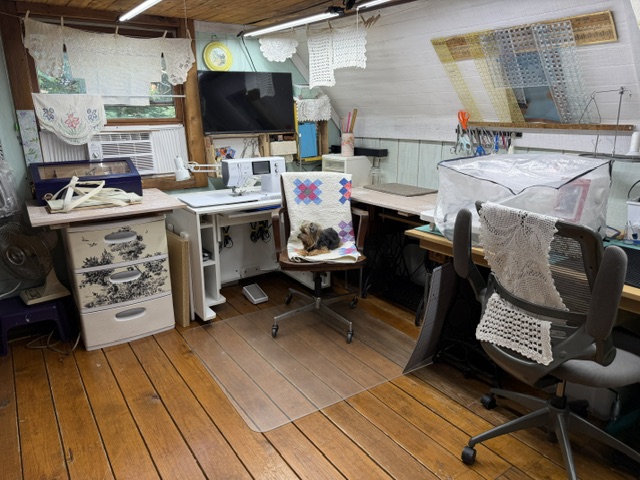
Above, if you look to the right of Loki you will see one of the pallet table tops sitting on the treadle base. This is the one I can sit a machine down in. To his left is another one on a plastic drawer unit with decoupaged bandana’s. It houses my smaller cuts of fabric, what was too small for the hanging bags and most bigger than a FQ.
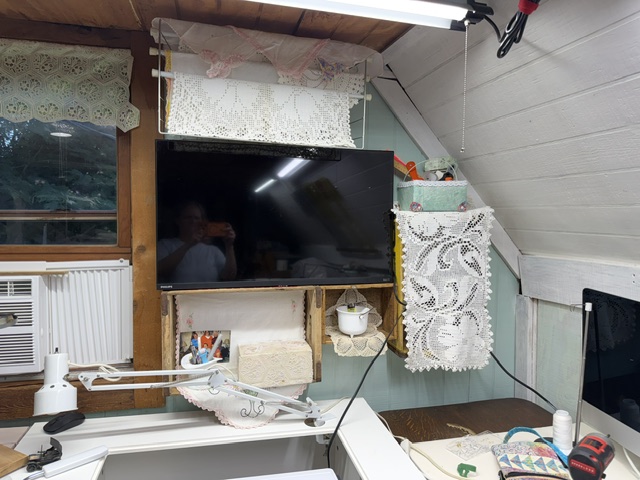
A few more doilies to enjoy. Previously the TV sat on a hanging quilt rack that just took up space. Its new home is old wooden Pepsi and 7up crates, with a smaller old wooden box. The boxes double as shelves.
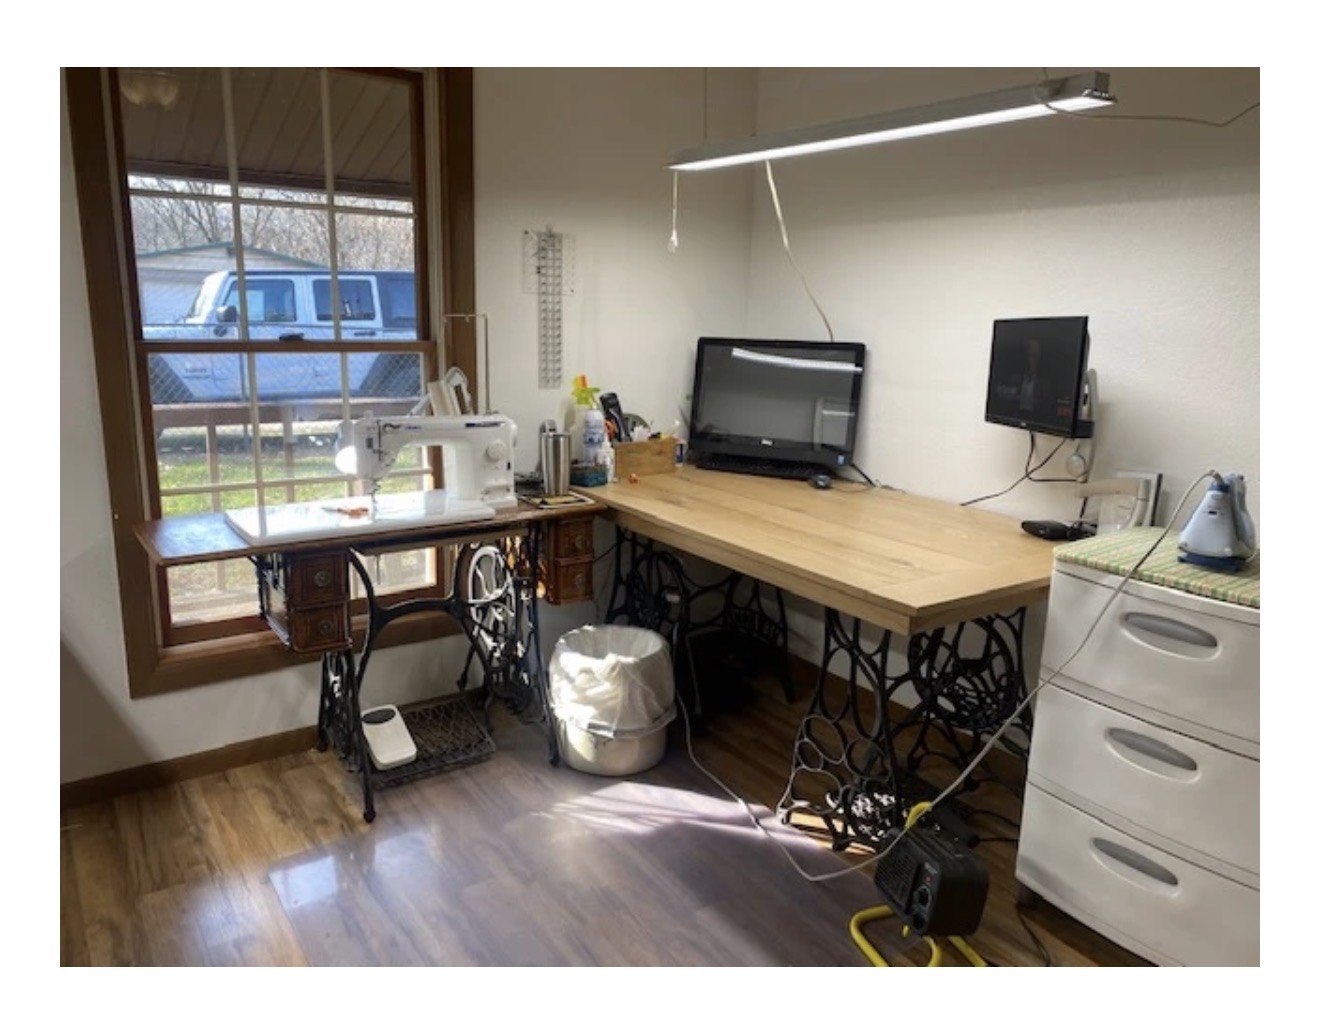
Below is my old sewing room with my Juki sitting down in the Singer base.
Upcycling
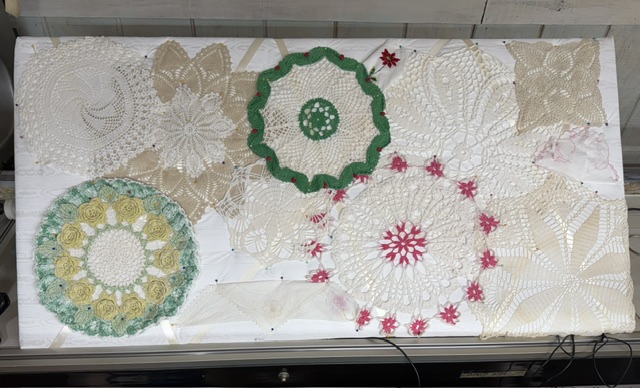
Using a drop ceiling tile I got from FB marketplace, I pinned some of my doilies and hung it above my ironing station.
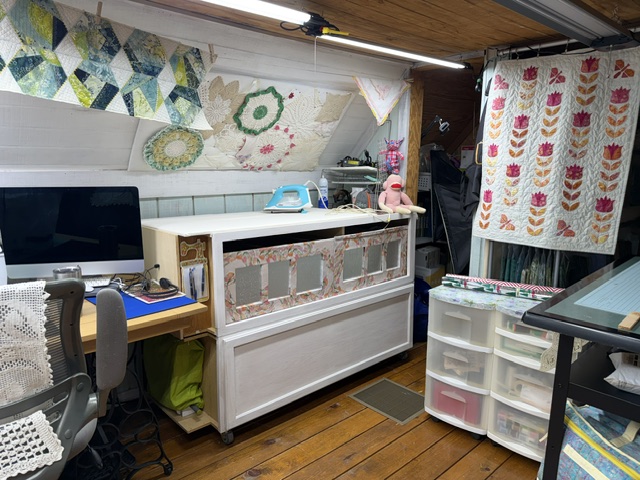
Ahh, my ironing station. These are 2 tall unfinished cabinets that were left in the house by the previous owner. One of the door broke while I was painting it (long store)so I have one without a door. The one on the bottom, I added casters to the side so I can easily roll this thing around if needed. On top is a piece of drywall I covered with cotton batting and muslin, my favorite pressing board.
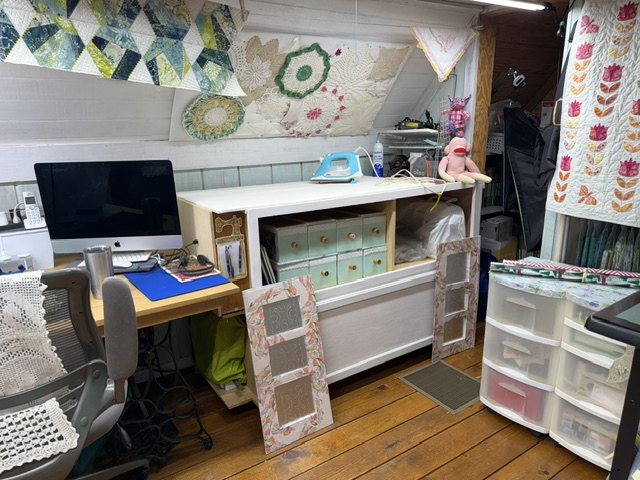
The top cabinet currently has one of my embroidery machines in it, and organizing drawers.
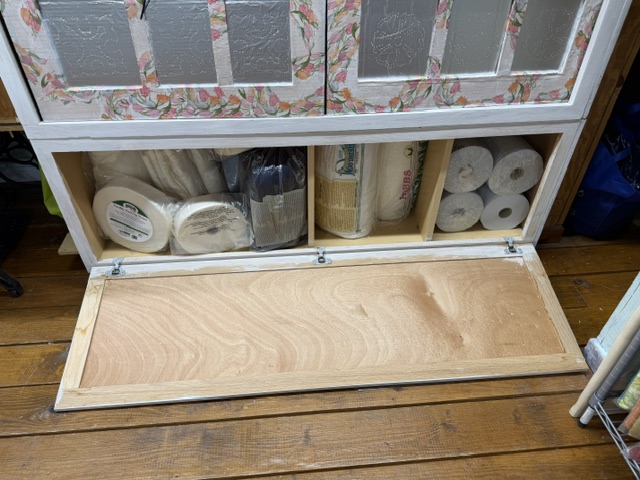
These cabinets were seriously on their way out. They’ve had fabric, batting, and multiple other things in them, and that’s just since we moved in. The did sit in the small area when you enter off the landing. The lower cabinet houses batting and large rolls of stabilizer. Ignore my painting, I don’t care what the inside look like.
Misc organizing
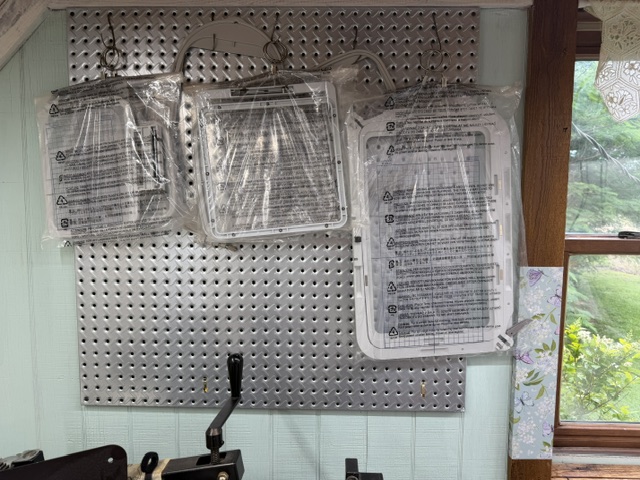
The pegboard is still under construction.
Under my Arrow sewing cabinet I used a tension rod to hang my machine cords. There are a couple that do not belong to my sewing machines but can be found easily when needed.
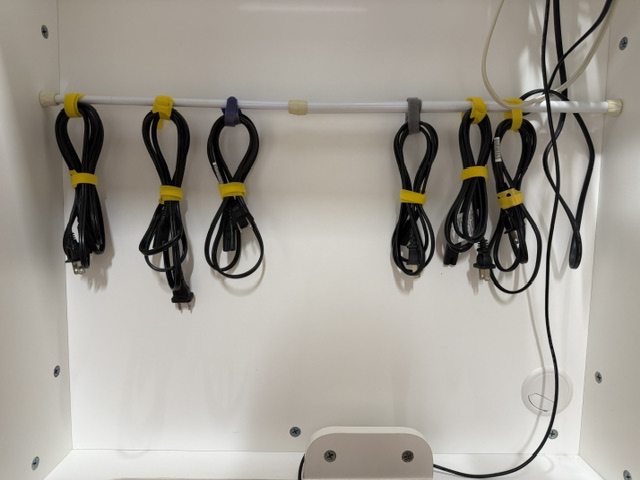
WOW that was alot, and there is more to do. There is still a little organizing to do and I need to clean and wax the floor. Finishing touches to be shared soon. Then it will be time to decide on the ceiling.
This makeover cost me under $50. The money was spent on milk powder and minerals for making the paint, and a couple bucks for napkins from the dollar store. Everything else I either had or repurposed.


I love seeing other peoples’ work spaces. Thanks for sharing yours!
Me too. Having more room in the new room and only 2 walls to work with has been a struggle. Instead of working with what I already had I was trying to bring new things in and it wasn’t working at all. So back to basics I went and improved what I already had has worked so good for me. Getting rid of 2 Ikea Kallax was a wise decision, the 3rd one will be out soon too.
Looks great, Denise!
Thank you
Wow Denise, what a makeover. It may not have cost much money but you sure spent a lot of time doing it. It looks great and more importantly, it should make finding things much easier. I’m still struggling to figure out my studio. There’s just too much stuff (because there’s too many hobbies!) Thanks so much for sharing your work. It’s wonderful 🙂
It definitely feels brighter and cleaner, no longer a bummer to go in there. Since cleaning up the back storage area it smells so much better in there and improves every day. I’ve left the door open to air out and get nice and dry. We may actually be able to store something in there now. Your mess doesn’t seem to stifle your creativity at all, I so love seeing everything you make.
Lots of good ideas and lots of good work.
And lots left to do, lol.
Very resourceful makeover, Denise! I love your solution for storing rulers! I enjoyed seeing all your photos.
Thank you, now if I could come up with more ideas on the slanted walls.